Posts

Showing posts from August, 2017

Super Easy DIY Wire Earrings
Image
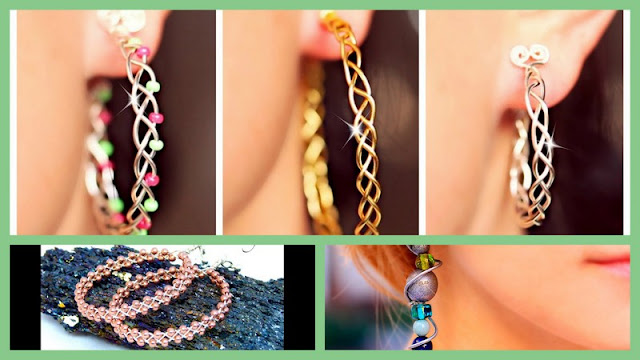
Dear Readers, Hope you all are doing awesome as always today. Girls often love to wear jewelry and are regular buyers of earrings especially. Earrings are one type of jewelry which can give your whole look either thumbs up or thumbs down. That is why girls get so choosy when picking the right kind of earrings for their outfit of the day. And you don’t have to worry about not finding the right pairs of earrings when you can make it yourself, a set of matching earrings with every dress, Every day! Yes, you heard me right. Today’s blog is going to be all about earrings and how you can use various techniques and materials to make such classy and different earrings matching with your outfit. Disclaimer:  All the videos that will be shared on today’s blog are not the property of Crafty Blogger. And we do not take any credit for the amazing talent exhibited by the video owners. Crafty Blogger is just a forum to bring together various ideas for easy DIYs which you can try at

Rings and Strings

Image
Hey viewers!!!  How are you all? I am sure most of the people reading this blog are as excited as I am because RINGS are something that I LOVE the most when it comes to jewelry. A ring is an accessory that makes your beautiful hands look more beautiful and the right kind of ring makes you more decked up for the occasion. Here today, we are going to talk about making your own ring, using the simplest of materials and the final product will be something you ever wanted. Cool, isn’t it? Wires are easily available in the market that can be utilized for making the rings as shown in the videos that are shared in today’s blog. This wire can easily be available at the nearest bookshop as well. The best part about this wire is that it can be easily molded and can be turned into whatever shape even with bare hands. Disclaimer: All videos shared in today’s blog are not owned by Crafty Blogger and we do not take any credit for the creativity shown in the videos. The video blogg

Popsicle Sticks Lamps and Lanterns

Image
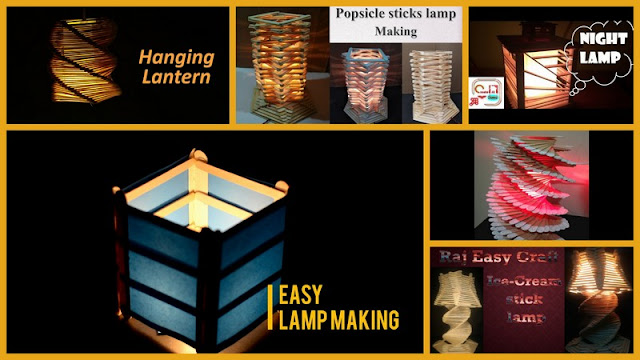
Hey, Everyone! Hope everyone is doing great today. So, how many of the readers love eating popsicles? I know that I do. Good news for the Popsicle eaters, you can use the Popsicle sticks to make something creative for your room. How cool is that? This also means that you must have a huge collection of Popsicle sticks depending on how large you want the object to be. Today’s blog is going to be all about making lanterns from Popsicle sticks. Yes, you heard me right. With glue and these sticks, you can build beautiful lanterns to make your house look classy and astonishingly beautiful. Disclaimer: All the videos that will be posted in today’s blog are not the property of Crafty Blogger and we do not take any credit for the creativity shown by the owners of these videos.Crafty Blogger is just a forum to present you a pool of ideas from very artistic minds which are related to the DIY you want to try. Let’s begin. So basically all you need to make these amazing DI

Roses Don't Always Have to be Real, Here's Why

Image
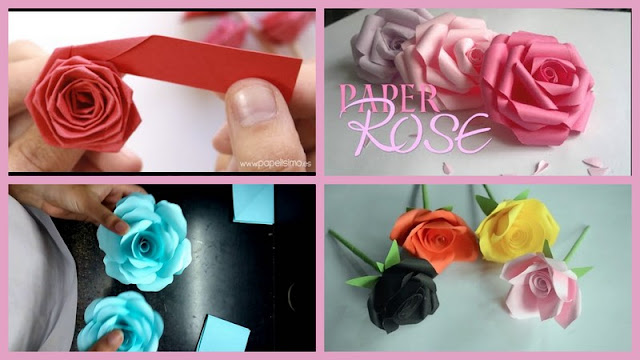
Hey, Crafty Readers! How are you all today? Hope you are doing great and are feeling crafty today. When we talk about flowers, the first type of flower that comes to our mind is usually a rose. So today's blog is dedicated to the beautiful creation of nature, a rose. We are going to learn how to make beautiful and appealing to the eyes, roses, made from paper. A few different techniques will be shared on today's blog. I hope you like them. Disclaimer: All the videos used in today's blog are not the property of Crafty Blogger. We do not take any credit for the creativity presented by these visionary video bloggers. They must be given all the credit for sharing such amazing ideas. Crafty Blogger is just a forum to gather all the videos that could help you find what you need to make under one page. Let’s begin then? Here is the first video for today's blog, in which you can see a simple and familiar technique of making a rose, paper quilling. All you

Baskets and Vases, Organize Your Desk Today

Image
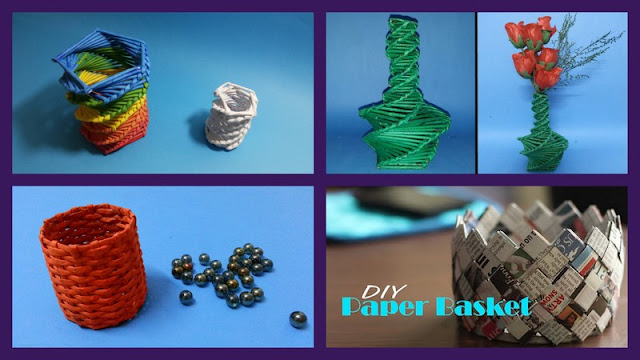
Hey, Bloggers! Hope you all are doing amazing today! So we often have our desk disorganized where we often cannot find our stationary or in short, things that we need instantly and are lost somewhere in the drawer which is a mess? Maybe yes? Don’t be worried anymore as we got you covered. You can make these extremely easy to make DIY baskets and vases with paper. Yes, you heard me right, you can make a basket or a vase with paper now. This will help you organize your desks and drawers. Disclaimer: All the videos that are shared in today’s blog are not the property of Crafty Blogger. This is just a forum to bring together all related DIY videos for the viewers. We do not take any credit for the creativity shown in the videos by the creative minds. So let's begin! Here is the first video which explains the step by step technique of making a vase to organize your desk. Come have a look. The best thing about this DIY is that you can simply reuse the material

Embellish Those Boring Walls with these Amazing Wall Hangings

Image
Hey, Crafty Bloggers! Hope you all are doing amazing today. So while I was sitting my room, I stared at my empty wall and thought about how people spend so much money to decorate their walls. So I thought why not look for something that I can make at home and that to which won't cost me much money. DIY wall hangings that will give your room a completely new look. Disclaimer: The following videos that will be shared on today's blog are not the property of Crafty Bloggers and we do not take any credit for the creativity shown in the videos. The videos belong to very creative minds who give you ideas to do the easiest and least expensive DIYs. So let's have a look at the first video. This is such a cute idea where you can cut small hearts out of paper and attach it to a thread or even a fish wire can be used for this purpose. Depending on the size of your wall, you can expand the size of this wall hanging and even keep the strings in different lengt

Large Sized DIY Flowers

Image
Hey Crafty Readers, Hope you all are doing great today. So how many of you love flowers? I know that I do, because today’s post is going to be about how to make large sized flowers, that too which look somewhat like Dahlia flowers. Interesting isn’t it? The videos that will be shared today will show you step by step how to make these large sized flowers which can be used to make a backdrop for any party, can be utilized as a wall hanging or can even be reduced to a size which can then be attached to a card or a gift. You would need some different colors and sizes of paper, some glue and a piece of cardboard or a bangle to act as a base for the flower. Let’s get started then. Disclaimer: All the videos that are being shared in today’s blog are not the property of Crafty Blogger and we do not take any sort of credit for the artistic approaches used by the video bloggers. This is just a forum to gather a pool of amazing DIY crafts from amazing video bloggers. Let us have

Butterflies and More Butterflies

Image
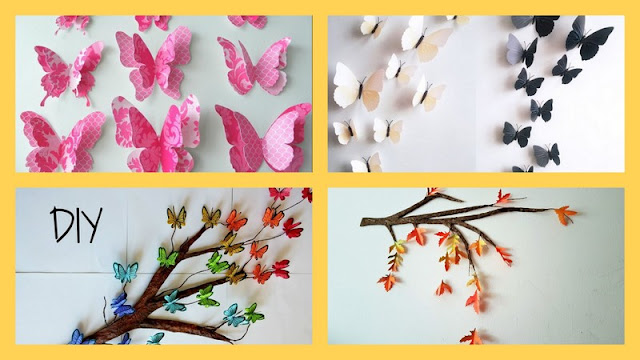
Hi Everyone! Hope you all are doing amazing like every day. Remember how I told you guys we can use paper to make such amazing things to decorate walls, cards, gifts and so many more things? Today’s blog is going to add some more ideas to that crafting technique. The videos that are going to be shared today will show you how you can make butterflies and leaves out of paper and decorate your empty wall, giving it more meaning. Disclaimer: All the videos used in this blog are not Crafty Bloggers property and we take no credit for it what so ever. All the videos that are being shared in today’s blog belong to people with extremely creative ideas to make DIY much easier. So let’s have a look at how we can use paper to make our wall appealing. This video shows us a very basic way of making butterflies out of colored paper just by folding it and cutting the edges. Follow the steps as displayed in the video to make these utterly beautiful butterflies. You can use the

Class with Glass..

Image
Hey Guys,     Today I am going to talk about some really cool ideas for DIY projects that can transform your room into an elegant abode.The material that I have chosen to work with today is glass.Glass has always been my favorite raw material for DIY projects.The reason being that you can use inexpensive glass to create some really classy room decor.      The final look and the transparency of the glass or its opaqueness can form shadows in and around them that give a comfy feel to its surroundings.     The first video that we start with today talks about the various techniques that can be used to cut glass bottles to change their shape.We all know it's not easy working with glass but once you get the hang of it, you will love working with it.Let's take a look at the video below:           The above video is optional if you feel that you don't want to go a step further and only work with simpler designs.But trust me cutting the bottles can give another

Have You Ever Made Tissue Paper Flowers?

Image
Hey, Crafty Readers! I am feeling very crafty today, are you? Because the videos that I am going to share today are going to be AMAZINGLY creative. When I was a kid, I only remember using tissue in paper mache and related crafts. This is probably the first time that I came across such crafty videos where tissue is being fully utilized to make these super cute flowers. Making flowers with normal paper sheets is something w already know and have been doing all our lives. But this, making tissue flowers, gives the flower a more realistic look. And why get fresh flowers when you can simply make these at home that too at such a cheaper price. To add color to these tissue flowers, you can always use paint or colored tissue papers that are easily available in the market. Besides tissue rolls and paints, you must need some wire string to make the stem of the flowers and colored tape to wrap it up. Oh yes, do not forget the glue, the most essential asset of a craft maker, isn’t th

The Marble Effect

Image
Hey Guys,      It's raining crafts everywhere.I love to see people experimenting with various techniques to create beautiful and colorful art.Colors can give you an instant sense of calm and relaxation.     One such technique is the marble effect in paintings. Nowadays, fluid marble paintings are a rage.This technique is very easy and allows the fluid colors to take their own natural course hence, creating magical patterns and gorgeous pieces of art. Let's look at the following video to get an idea how fluid paints can be used to create some very dramatic patterns and designs.        The patterns are naturally created and look very pretty.The results are very unpredictable but can be played with.You need to have a clear idea of what you want from the movement of the paintings and work on the natural flow of the colors.Looks so elegant, doesn't it?         I find the next marbling technique very interesting and unique.It amazes me to see the work of nature

Feeling Crafty Yet?

Image
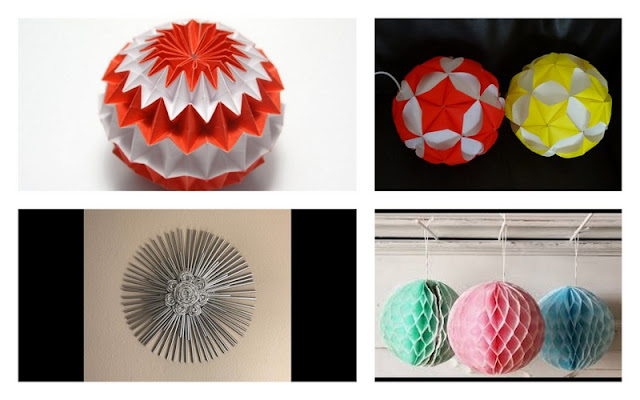
Hey, everyone!      So today’s post is about how we can decorate our house with things that are inexpensive and can be used in a very creative way, making our house look extremely classy. Yes, you heard me right, who knew that decorating your space could be so easy and affordable. You can use these ideas for parties and event at your place whether indoors or outdoors, these ideas will always be a savior to your party planning.      The following videos that will be shared are the property of very creative people and do not belong to us. This is just a forum to bring you, people, a collection of DIY projects that you can easily access and practice to enjoy your creations.      Wow, now that was easy. All you need is scissors, a pencil, papers (you can even use textured paper to make your honeycomb look more appealing), a scale, a glue gun (if not available, you can use any sort of glue present at home) and a compass to make circles. In case the compass is not availab